How to Choose the Right Finish for Your Carpentry Projects

Carpentry projects are a fantastic way to add character, style, and value to your home. But once you've built your wooden masterpiece, whether it’s a custom cabinet, a beautiful deck, or an intricate trim, the finishing touch—literally—is applying the right finish. The finish you choose affects not only the look of the wood but also its durability and lifespan, especially in a place like Calgary where weather conditions can be challenging for wood.
At Carpentry Calgary, we know that choosing the right finish can make all the difference in the outcome of your project. Here’s a guide to help you make the best choice for your next carpentry project.
1. Understanding the Purpose of Finishes
A wood finish serves several important purposes:
- Protection: It creates a barrier against moisture, dirt, and wear, preserving the integrity of the wood.
- Aesthetic Appeal: The right finish enhances the wood’s natural grain, color, and texture.
- Longevity: Proper finishing extends the life of the project by shielding it from environmental factors like UV rays and humidity changes.
Different projects require different finishes, and what works well for an interior trim may not suit an outdoor deck. Let’s dive into the types of finishes and where they work best.
2. Types of Wood Finishes and Their Applications
a. Oil Finishes
- Types: Linseed oil, Tung oil, Danish oil.
- Best For: Indoor furniture, decorative pieces, cutting boards, and tabletops.
- Benefits: Oil finishes penetrate deep into the wood, enhancing the grain and creating a rich, natural look. They’re easy to apply and maintain, making them perfect for small to medium indoor projects.
- Drawbacks: They offer less protection against moisture and UV light, so they’re not ideal for outdoor projects.
b. Varnishes
- Types: Spar varnish, polyurethane.
- Best For: Outdoor furniture, kitchen cabinets, and surfaces that experience heavy wear.
- Benefits: Varnishes are known for their durability and water resistance, making them ideal for projects exposed to Calgary’s varied climate. Spar varnish, in particular, is flexible and won’t crack in outdoor conditions.
- Drawbacks: Application can be time-consuming, as it typically requires multiple coats and sanding between layers.
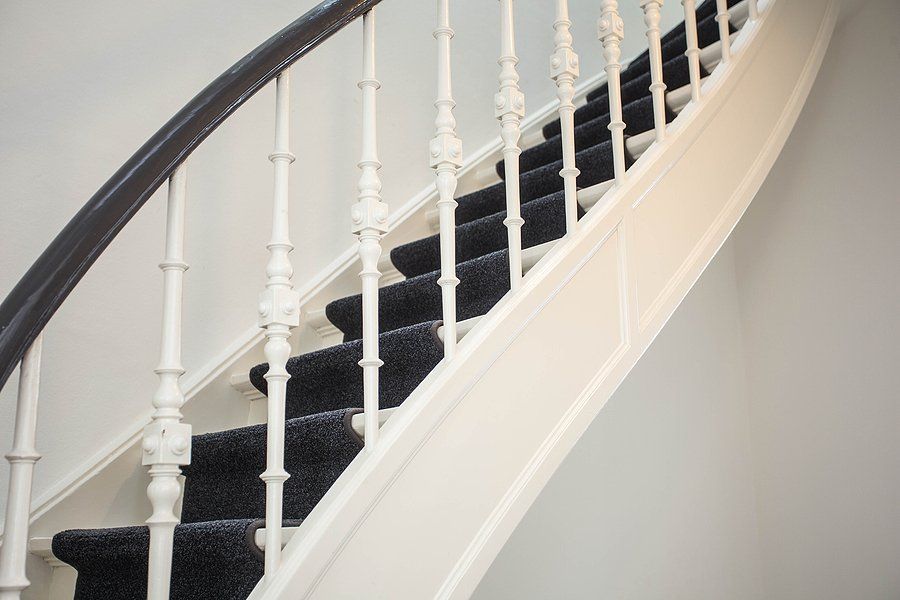
c. Shellac
- Best For: Fine furniture, small decorative items, and restoration projects.
- Benefits: Shellac gives wood a beautiful, warm glow and is easy to repair by adding additional coats if needed. It’s a traditional finish, often used in fine woodworking and antique restoration.
- Drawbacks: It’s not very durable and doesn’t hold up well against moisture or high wear, so it’s best for low-traffic, indoor pieces.
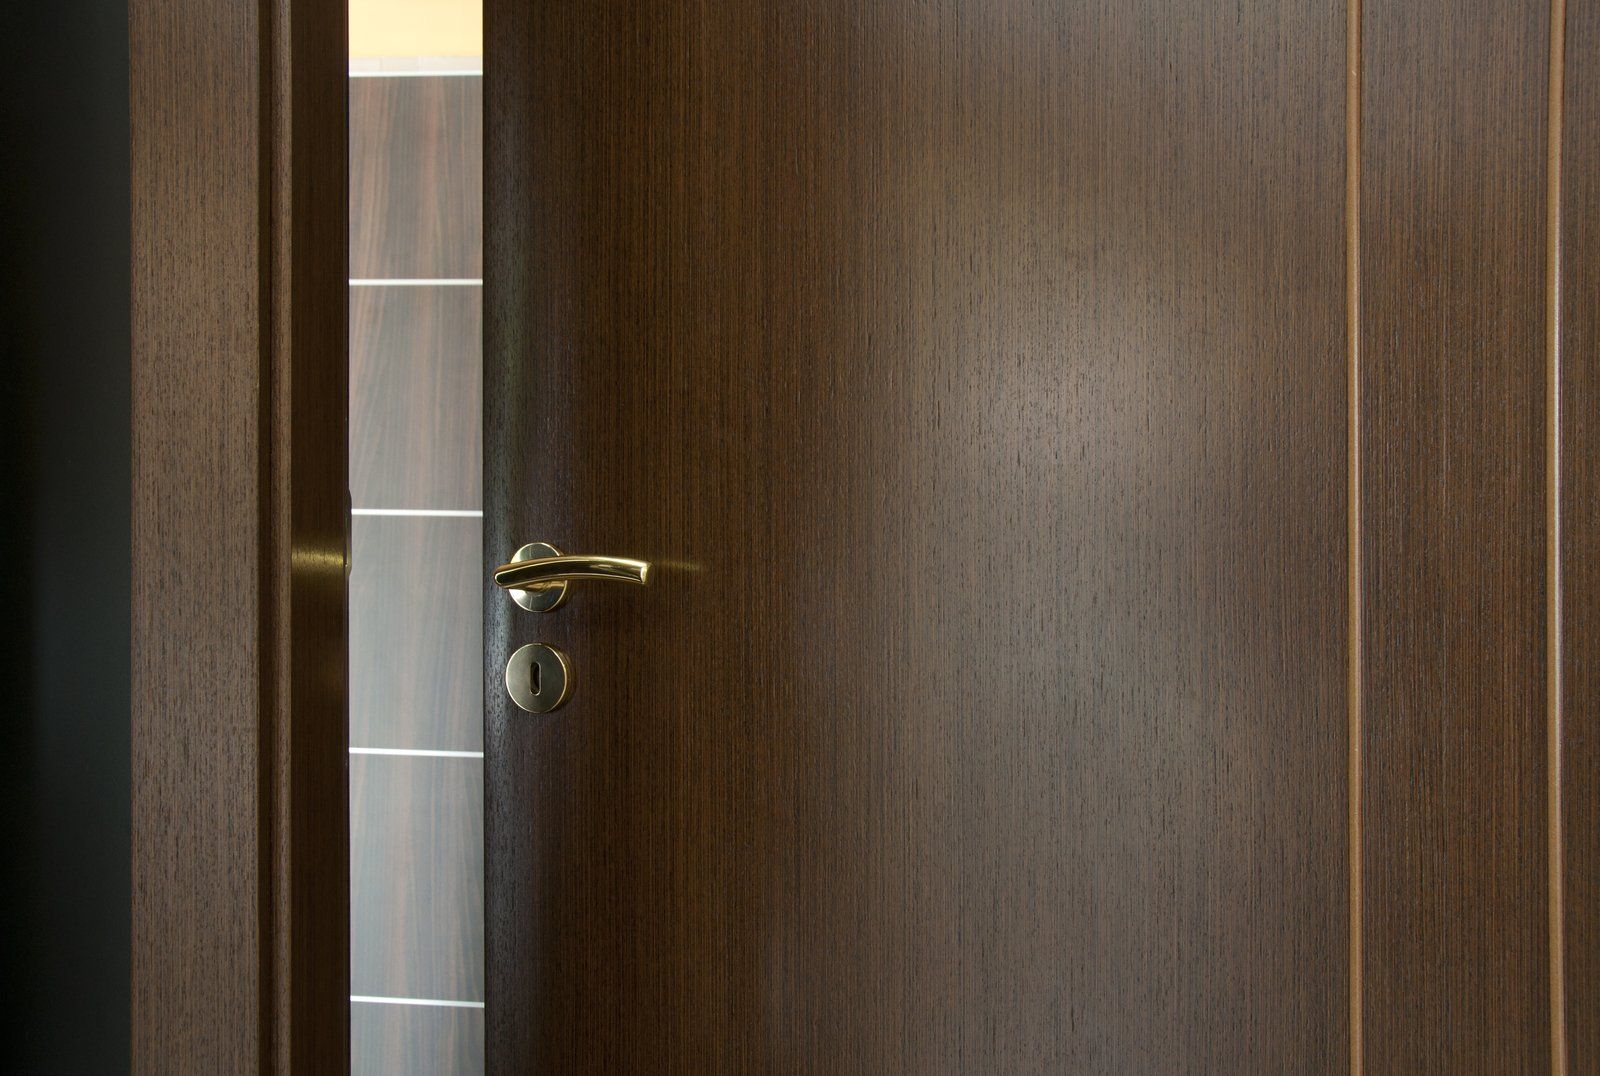
d. Lacquer
- Best For: Cabinets, doors, and fine furniture.
- Benefits: Lacquer dries quickly, forms a hard and smooth finish, and brings out the depth of wood grain beautifully. It’s often used on furniture pieces that need a polished, high-end appearance.
- Drawbacks: While durable, lacquer isn’t as water-resistant as other finishes, making it less suitable for projects in high-moisture areas.
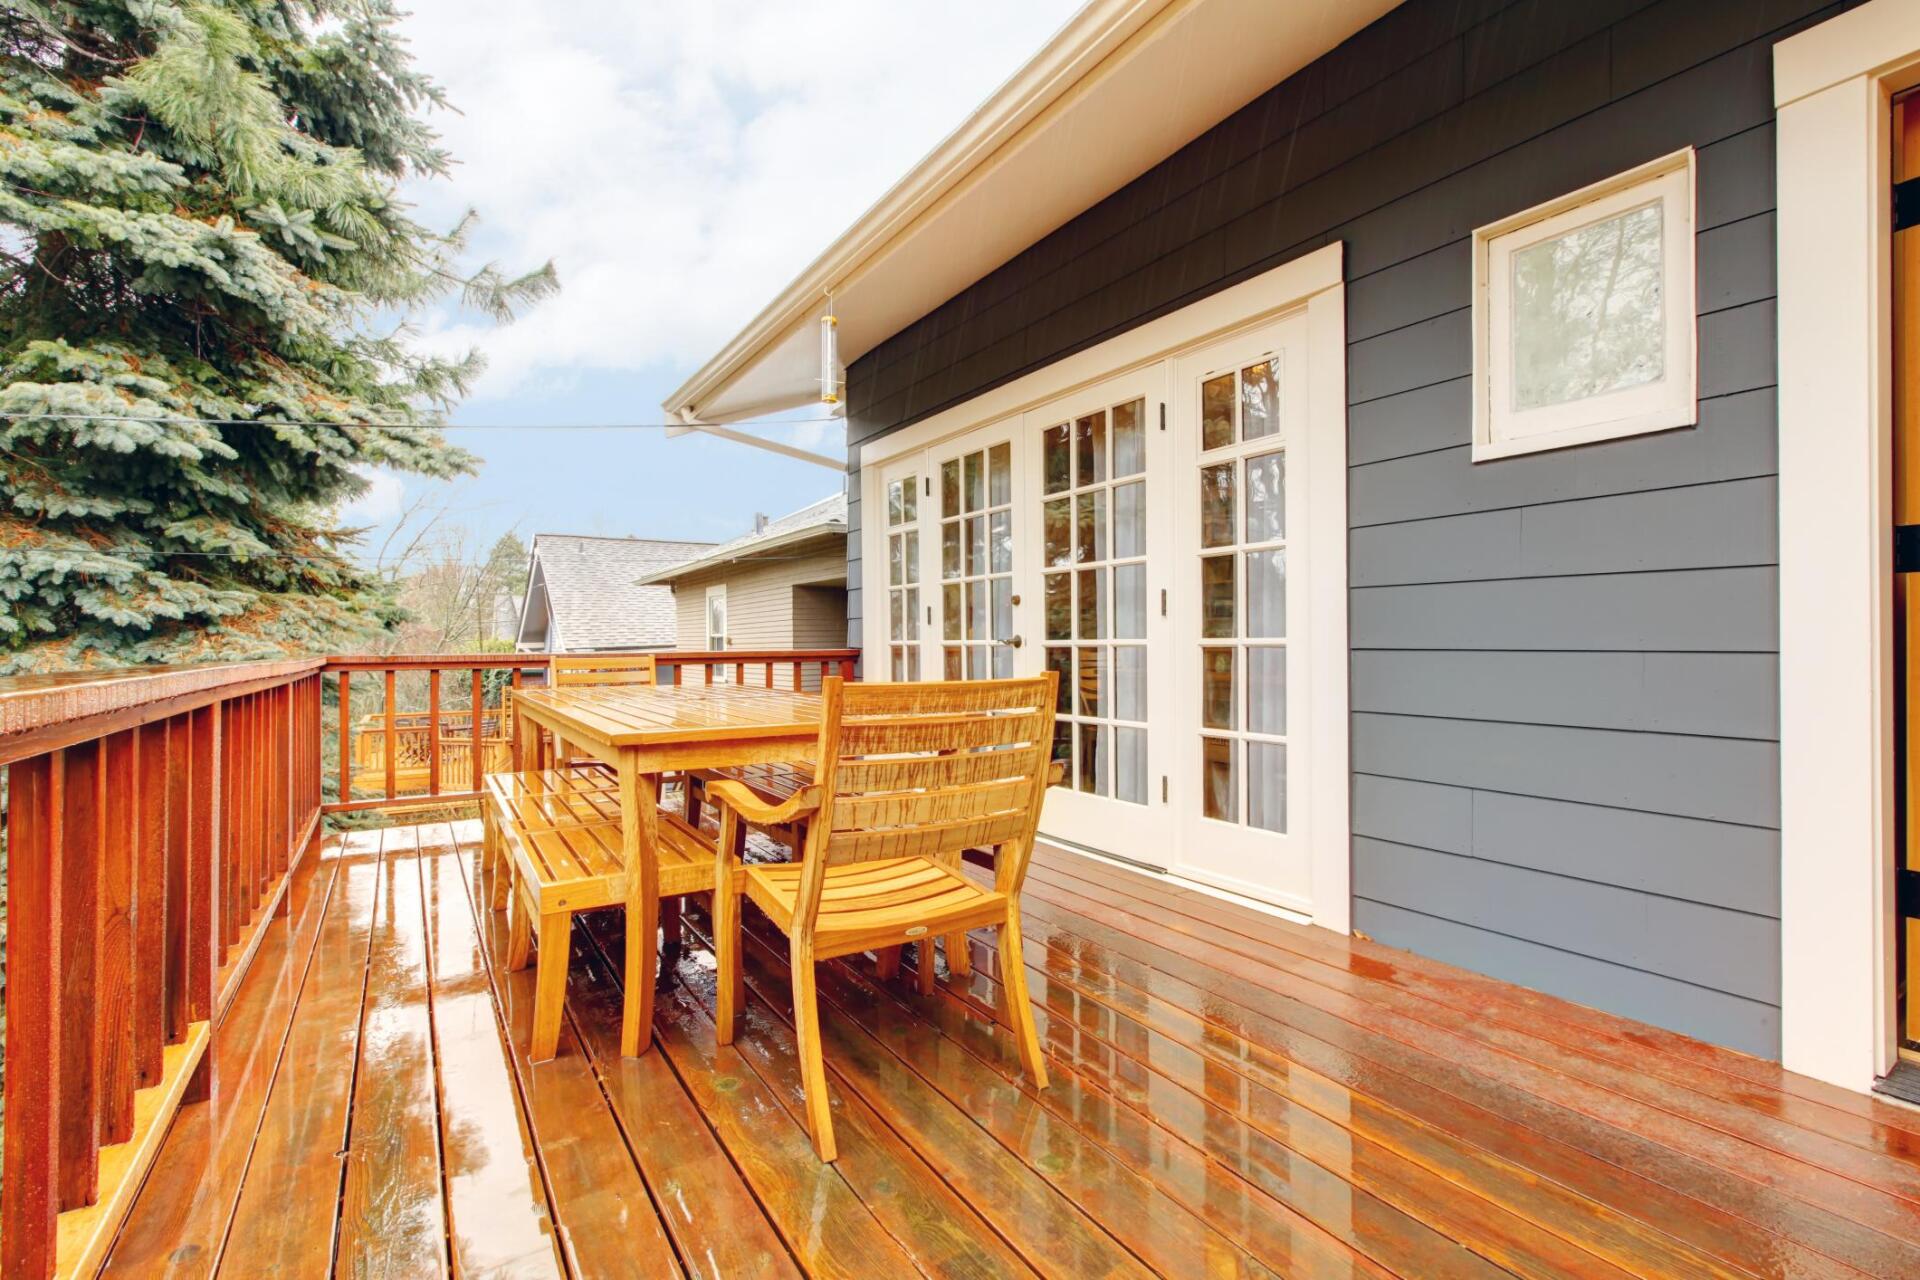
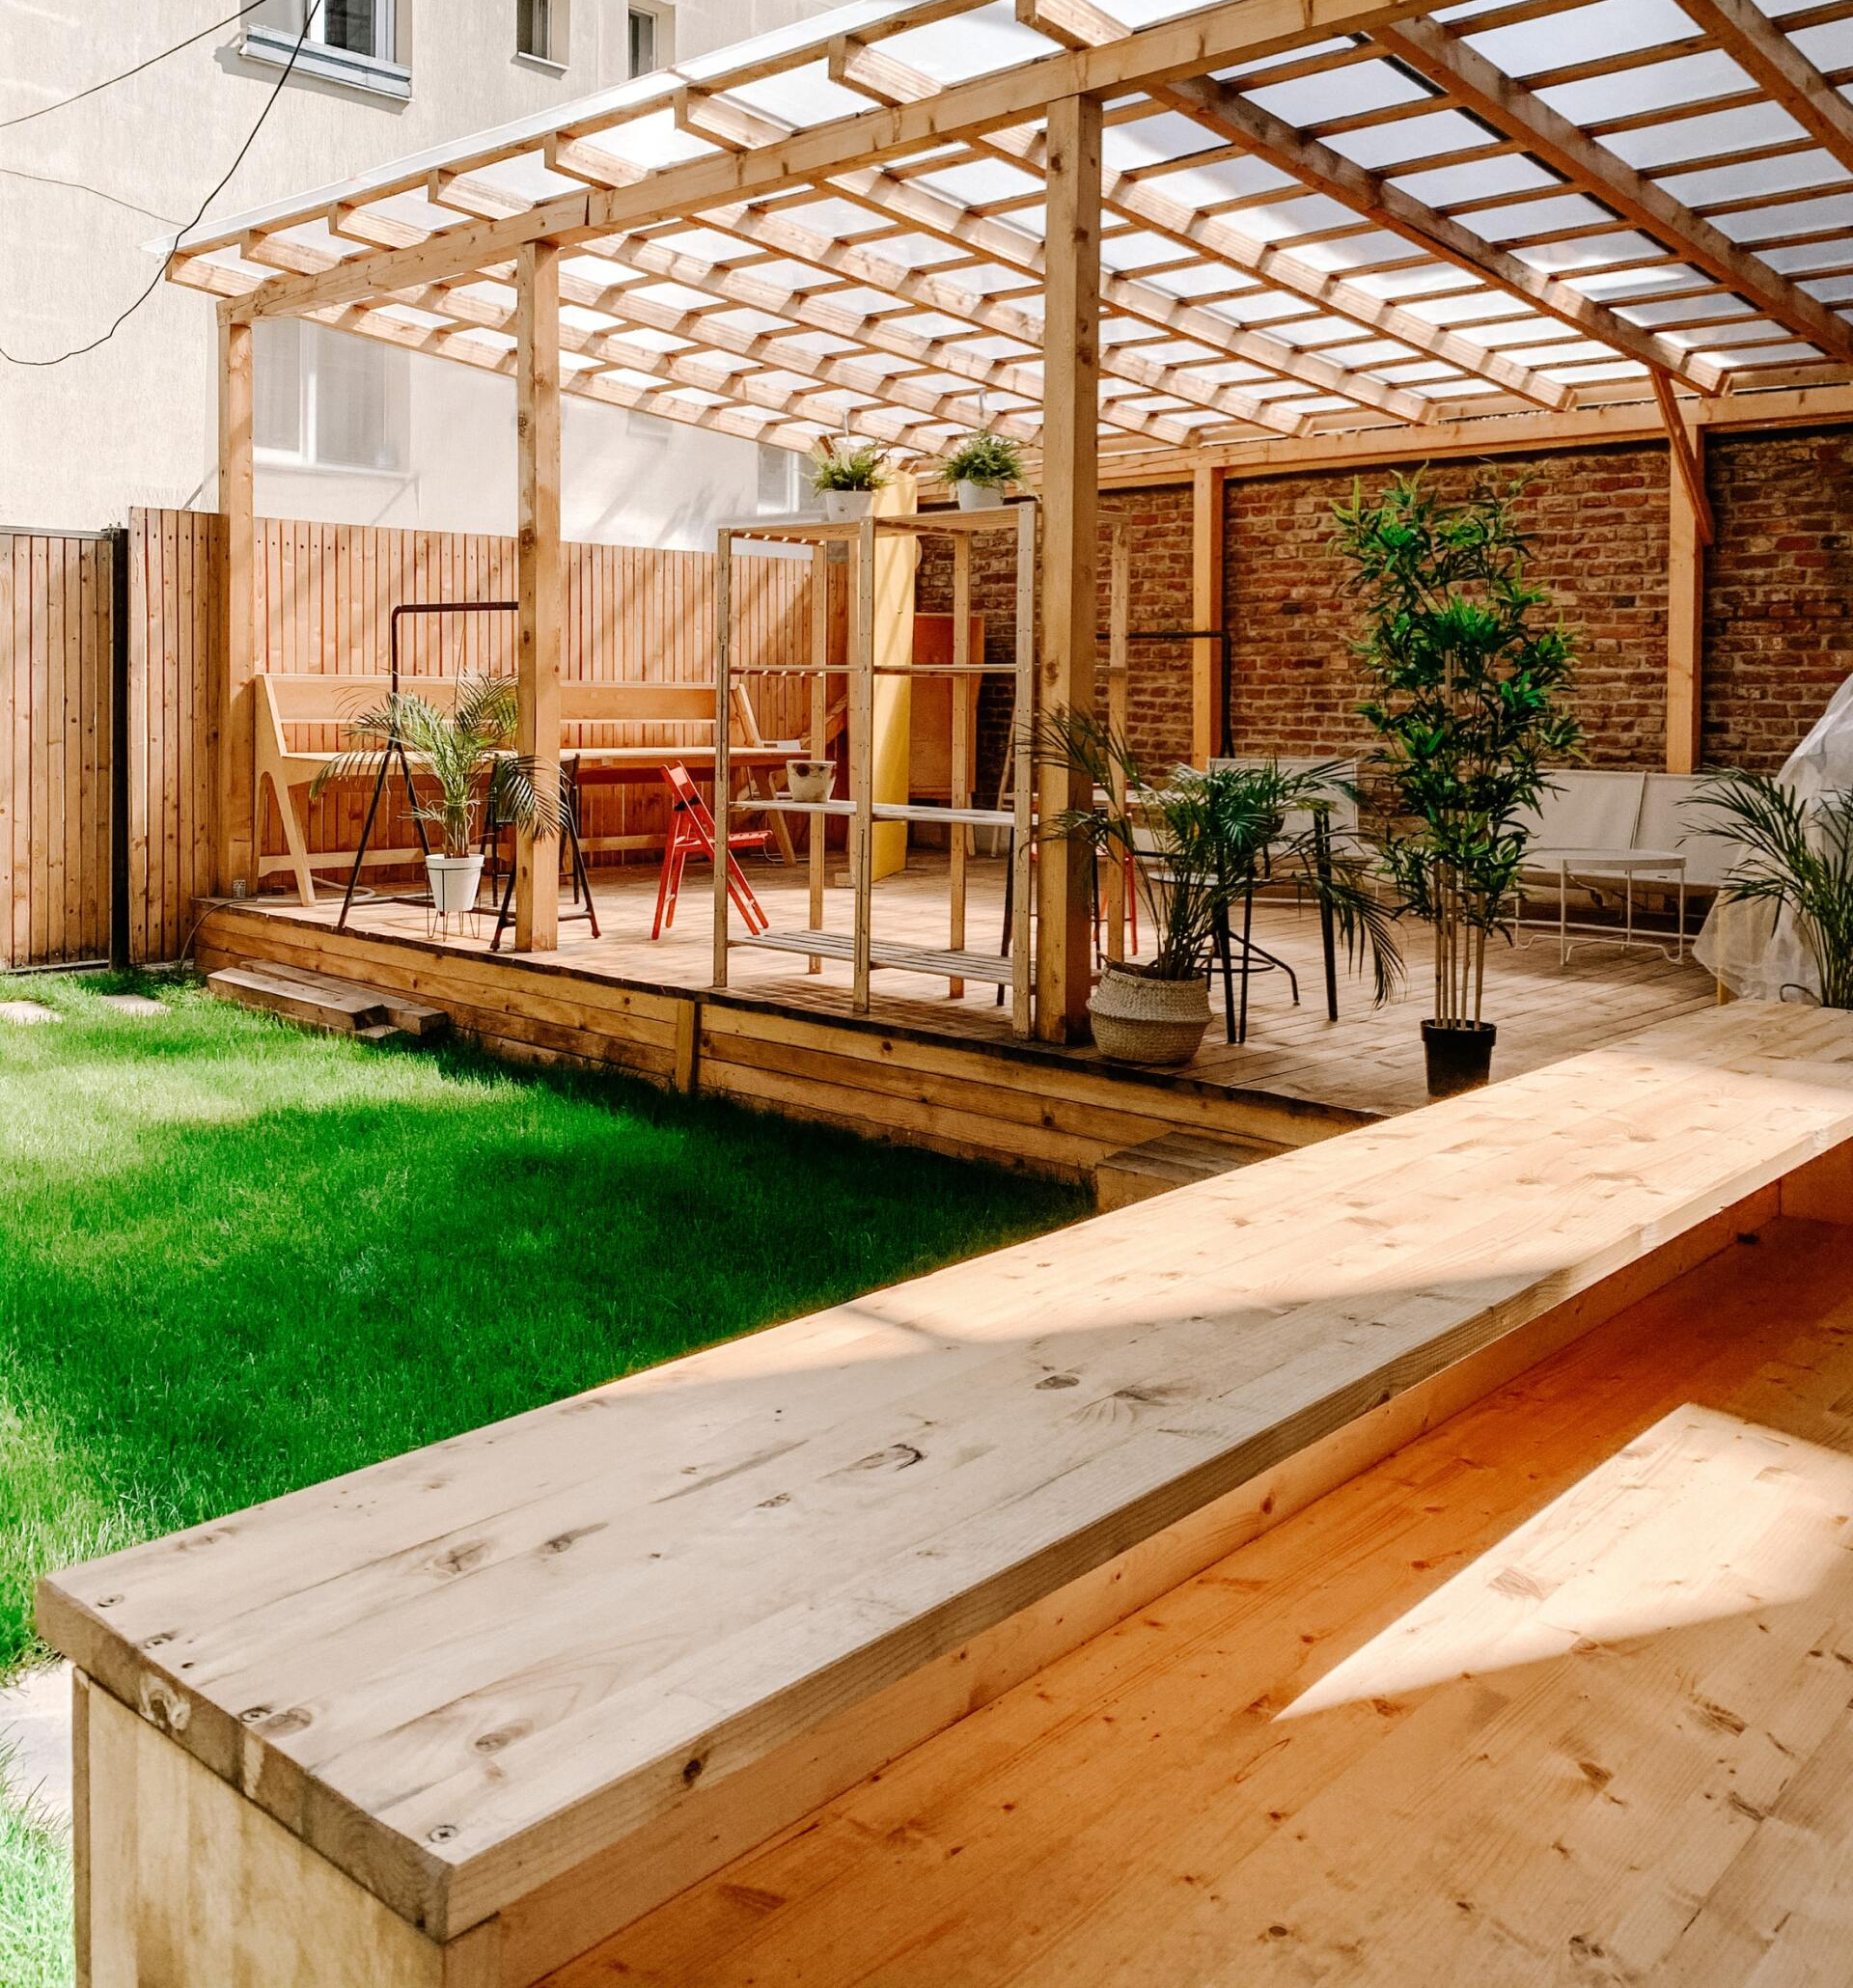
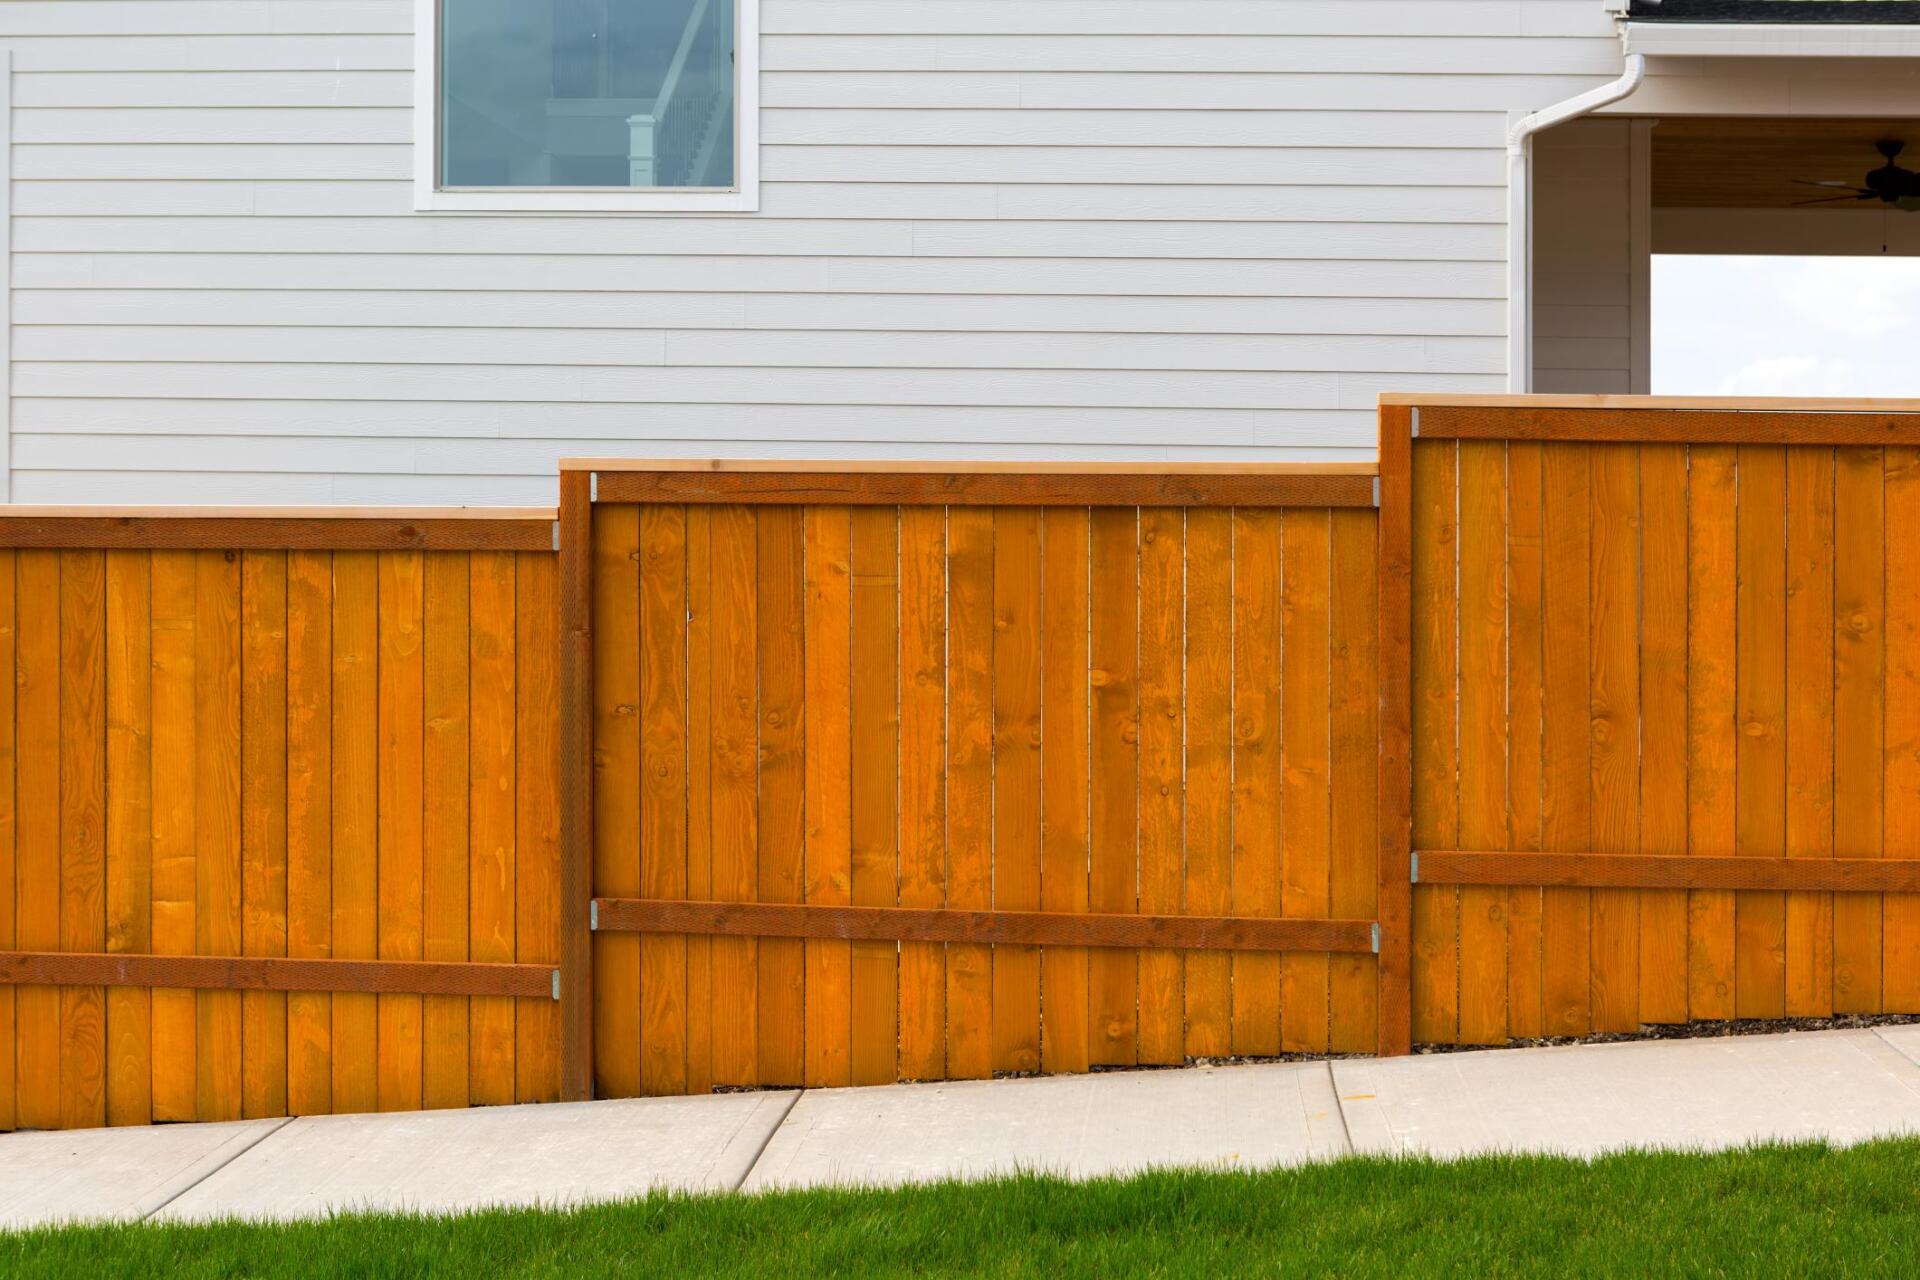
e. Stain and Sealer Combos
- Best For: Outdoor furniture, decks, and fencing.
- Benefits: These products provide color and protection in one step, making them perfect for large outdoor projects. They add rich color to wood and create a waterproof barrier.
- Drawbacks: They may require periodic reapplication, especially in areas exposed to harsh sunlight and rain.
3. Choosing the Right Finish Based on Environment
In Calgary, where weather conditions range from dry winters to hot summers, it’s essential to choose a finish that withstands seasonal changes. For outdoor projects, a durable, weather-resistant finish like spar varnish or a high-quality exterior stain is ideal. For indoor projects, oils or lacquers can be used to add a refined touch, as they won’t be exposed to the elements.
- Outdoor Projects: Opt for finishes that provide UV and moisture protection, like spar varnish or exterior wood stains.
- Indoor Projects: Consider oils, shellacs, or lacquers, which enhance wood’s natural beauty without needing heavy protection.
4. Applying Your Finish Properly
The application method impacts both the look and durability of your finish. Here are some quick tips for a successful finish:
- Preparation is Key: Sand your wood thoroughly, progressing from a coarse grit to a fine grit, to ensure a smooth, clean surface for the finish.
- Apply Evenly: Use a brush, cloth, or spray method suitable for the finish type, ensuring even coverage across the surface.
- Multiple Coats: Many finishes require several coats to achieve maximum protection and a consistent look. Allow each coat to dry fully before applying the next.
- Sanding Between Coats: For varnishes and polyurethanes, sanding lightly between coats can help achieve a smoother finish.
5. Maintenance Tips for Finished Carpentry Projects
No finish lasts forever, so regular maintenance will keep your wood projects looking their best.
- Indoor Pieces: Reapply oil finishes every few years, especially for items like tabletops that see regular use.
- Outdoor Pieces: Check annually for signs of wear, especially after winter. Reapply sealers or varnishes to maintain protection against the elements.
- Furniture and Trim: Dust and clean with gentle products; avoid harsh chemicals that can damage the finish.
6. Get Professional Assistance for a Flawless Finish
While DIY finishing can be rewarding, some projects—especially large or outdoor ones—can benefit from a professional touch. At Carpentry Calgary, our team has the expertise to choose and apply the best finish for your unique project, ensuring it looks stunning and stays protected for years to come.
Final Thoughts
Choosing the right finish for your carpentry project is essential to enhance both its beauty and durability. From oils and varnishes to shellacs and lacquers, each finish has unique qualities that can bring out the best in your woodwork. By selecting a finish that aligns with the environment and usage of your project, you’re ensuring it stands the test of time while looking its absolute best.
For expert advice or assistance with your next carpentry project, reach out to Carpentry Calgary. We’re here to help bring your vision to life with quality craftsmanship and the ideal finishing touch!