Step-by-Step Guide to Building a Custom Wooden Fence
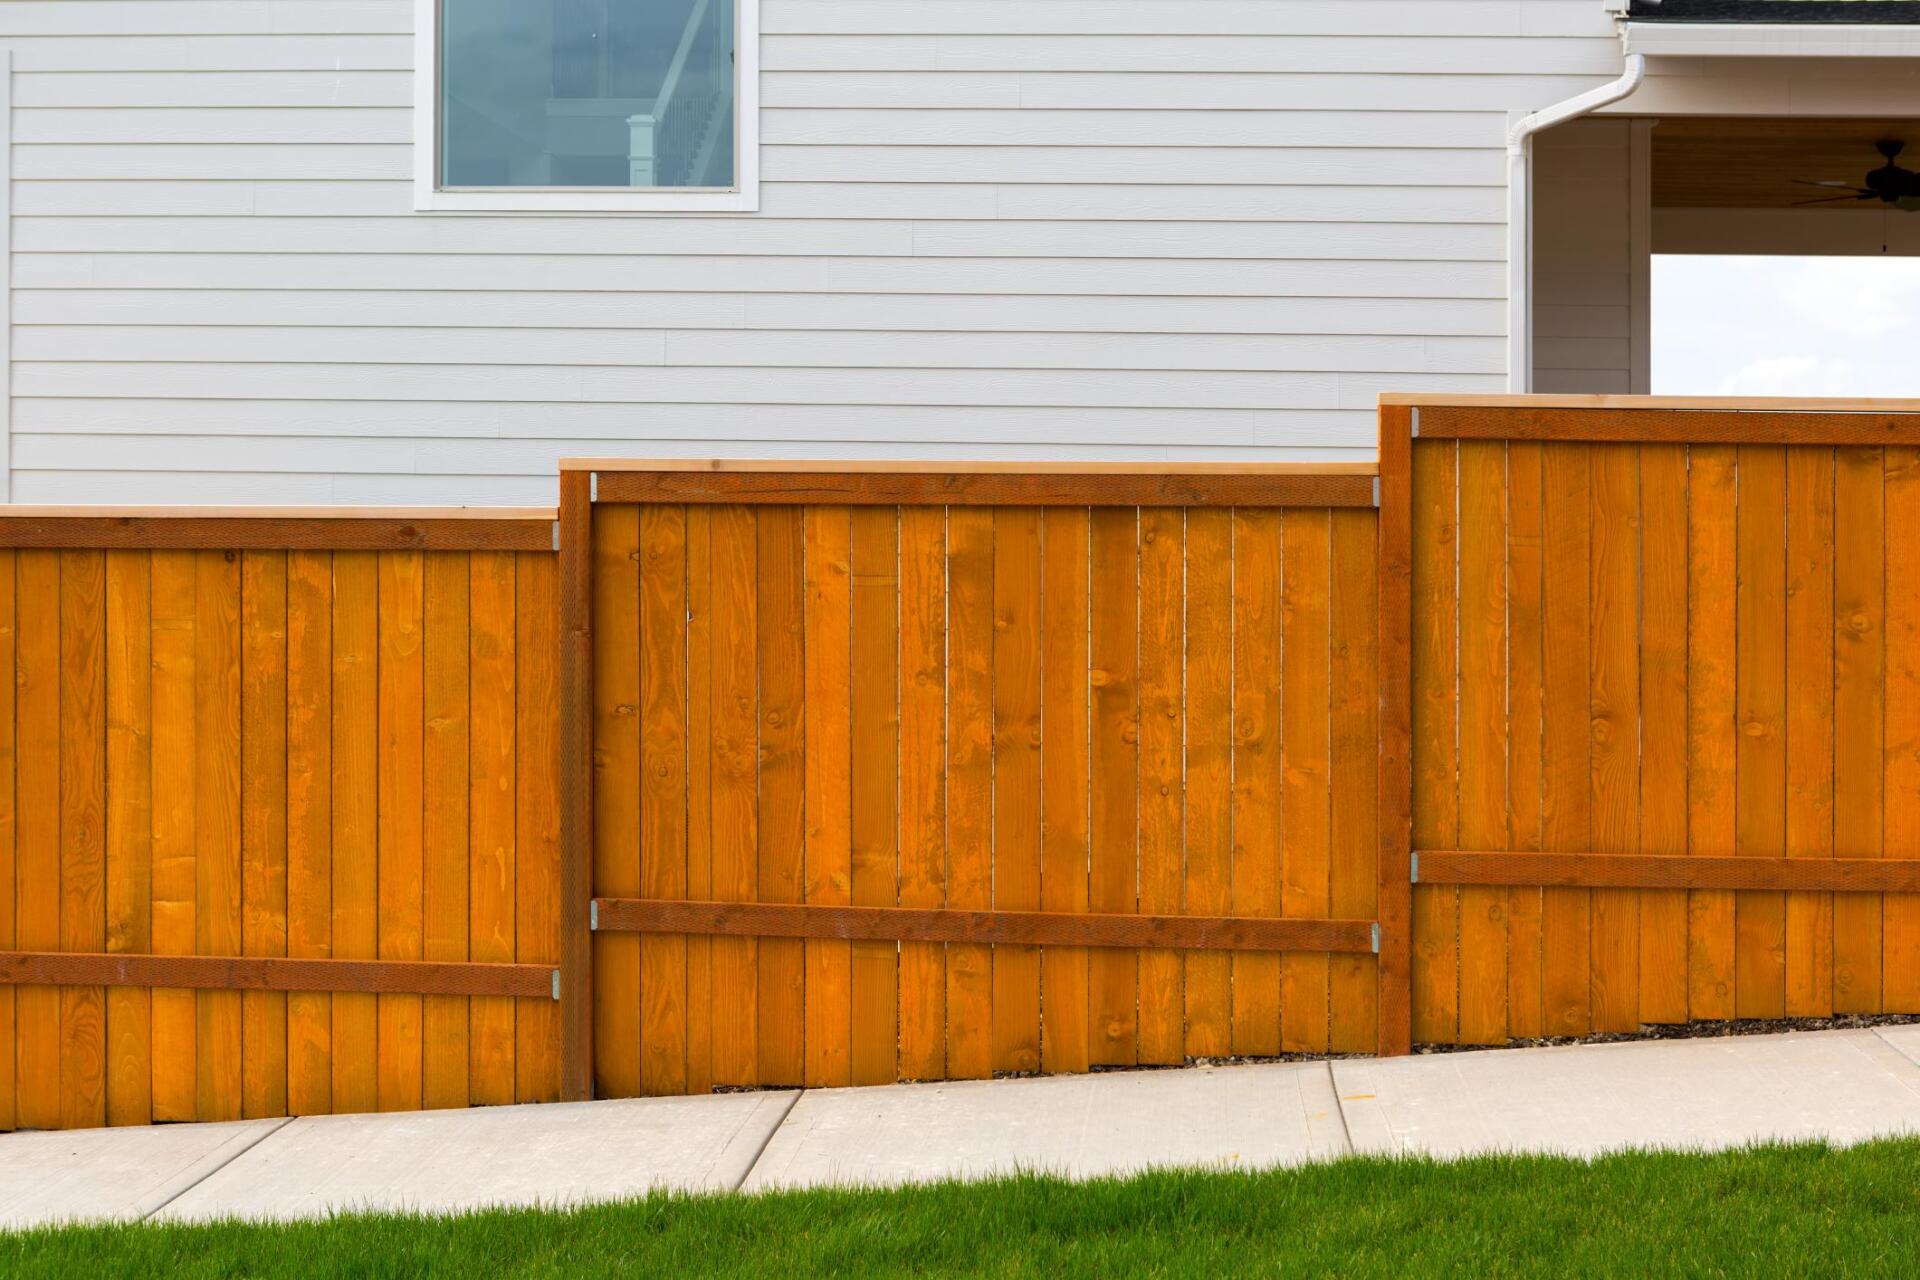
Building a custom wooden fence is an excellent way to enhance the privacy, security, and aesthetic appeal of your property. Whether you're a seasoned DIY enthusiast or a beginner looking to take on a new project, this step-by-step guide will help you construct a beautiful and durable wooden fence. Here at Carpentry Calgary, we pride ourselves on delivering quality craftsmanship and expert advice to our Calgary, Alberta community. Let's dive into the process of building a custom wooden fence.
1. Planning and Preparation
Assess Your Needs:
Determine the purpose of your fence. Are you looking for privacy, security, or simply to mark your property boundaries? Knowing your goals will help you choose the right materials and design.
Check Local Regulations:
Before you start, check with your local municipality for any regulations or permits required for fence installation. There may be height restrictions, setback requirements, or other guidelines you need to follow.
Choose Your Materials:
Select the type of wood you want for your fence. Common options include cedar, pine, and redwood. Cedar is a popular choice due to its natural resistance to rot and insects.
Measure Your Area:
Measure the perimeter of the area where you want to install the fence. This will help you determine the amount of materials you need.
2. Gathering Tools and Materials
You will need the following tools and materials for your fence installation:
- Fence posts
- Fence panels or pickets
- Concrete mix
- Gravel
- Nails or screws
- Hammer or drill
- Post hole digger or auger
- Level
- Tape measure
- String and stakes
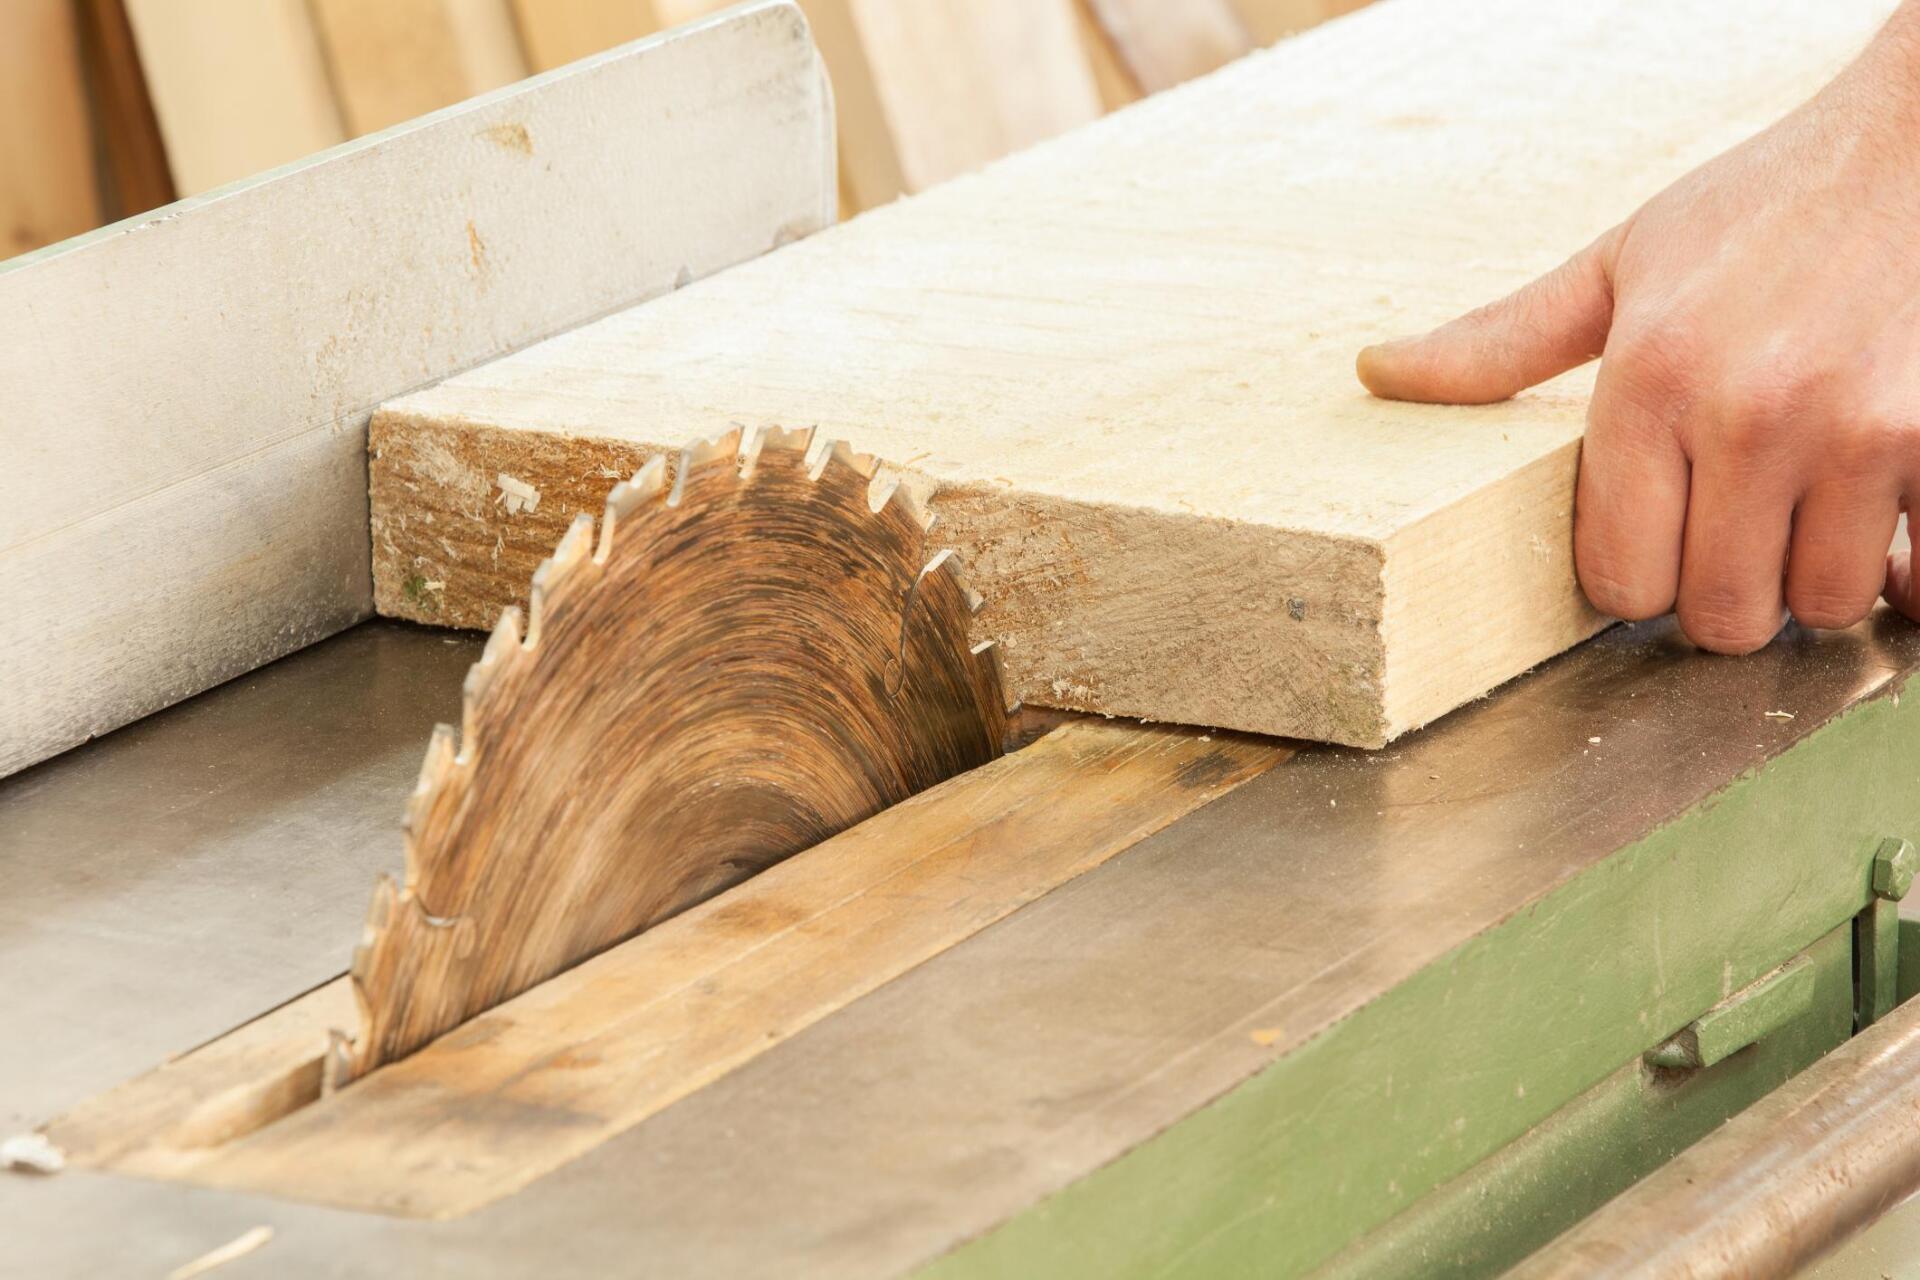
- Saw (if cutting panels to size)
3. Marking and Digging Post Holes
Mark the Fence Line:
Use string and stakes to mark the fence line. This will serve as a guide for placing your posts.
Mark Post Locations:
Along the fence line, mark the locations for your fence posts. Typically, posts are spaced 6 to 8 feet apart.
Dig Post Holes:
Using a post hole digger or auger, dig holes for your fence posts. The depth of the holes should be approximately one-third the height of the fence, plus an additional 6 inches for gravel.
4. Setting the Posts
Add Gravel: Place about 6 inches of gravel at the bottom of each post hole for drainage.
Set Posts in Concrete: Position a fence post in each hole, making sure it is plumb and level. Fill the hole with concrete mix, ensuring the post is stable. Allow the concrete to cure according to the manufacturer's instructions.
5. Installing the Fence Panels or Pickets
Attach Rails:
Once the posts are set, attach horizontal rails between the posts. These rails will support the fence panels or pickets.
Install Panels or Pickets:
Depending on your design, either attach pre-fabricated fence panels to the rails or install individual pickets. Use nails or screws to secure the panels or pickets to the rails.
Ensure Level and Spacing:
Make sure each panel or picket is level and evenly spaced. Use a level to check vertical alignment and a spacer block to maintain consistent gaps between pickets.
6. Adding Finishing Touches
Trim Excess Height:
If necessary, trim the tops of the posts to ensure they are all the same height.
Cap the Posts:
Add post caps to protect the tops of the posts from weather damage and to give your fence a finished look.
Stain or Paint:
Protect your fence from the elements by applying a wood stain or paint. This will also enhance the appearance of your fence.
7. Regular Maintenance
To keep your wooden fence looking great and lasting longer, perform regular maintenance. Check for loose nails or screws, reapply stain or paint as needed, and inspect for any signs of rot or damage.
Conclusion
Building a custom wooden fence can be a rewarding project that adds value and beauty to your property. By following these steps, you can create a sturdy and attractive fence that meets your needs. If you need professional assistance or want a perfectly crafted fence without the hassle, contact Carpentry Calgary. Our expert team is here to help you with all your fence installation needs.